Monday, December 26, 2011

I-SPY REDUX

Back of Adam's I-SPY quilt.
Front of DL's family I-SPY quilt. It's similar layout to Adam's family and has many of the same squares, same ladybug framing, same 3-D fish panel on back and same flamingo binding. I have several squares left or pieces of stash fabric and a panel of 3-D piece, so will make one to have here for kiddos to play on.
Pockets were sewn to backs to hold laminated list of the squares and and 3-D glasses that came with the material. Hubby bought this at LQS and neither of us realized it was 3-D until our neighbor pointed it out, so he had to go back and get the glasses. Kiddos and their parents loved it on the back! This is Adam's back before pocket and label were sewn on. I quilted it first then added those. Again, these were inspired by http://flourishingpalms.blogspot.com/2011/11/fun-with-dick-and-jane.html
Speaking of I-Spy...this is one of several paper sack lunch bags made for other small presents to go into, and is made from Sweetwater's Hometown fabric. It's such cool fabric and list my hometown of Spokane, a nearby town and lots of places I've either lived or visited. Over 1000 hometowns apparently. It's lined with University of Washington fabric and was my son's. Can't remember where I got the pattern. (somehow this area wants to be underlined!!) The quilts were happily, very happily received.

Friday, December 23, 2011

SANTA'S CHECKING HIS LIST AND HIS HEIGHT!!!


Santa stopped by for a little visit and while checking his list, he also checked his height against our newest creation--a ruler growth chart made with directions from http://517creations.blogspot.com/2011/04/ruler-growth-chart-pottery-barn-knock.html Very easy to follow her directions. Even this old, sometimes shaky lady was able to get pretty straight lines. Hubby bought, sanded and stained the wood for me, and got the paint pen.

Found out apparently there are oil based paint pens and water based--we used Marvy's oil based, so are letting everything dry for a day or two before putting varnish on--probably a spray one. Ours is a 1 x 8 that's 6 feet long and will hang with bottom 6" from floor so our tall sonny can get measured, too!!

MERRY CHRISTMAS!!!!!!!!!!!

Monday, December 19, 2011

VIRTUAL COOKIE EXCHANGE

Jodi at Pleasant Home is having a Virtual Cookie Exchange with over 60 cookies already linked, so go check it out: http://www.pleasant-home.com/2010/12/pleasant-home-christmas-cookie-exchange.html

Mint Chocolate Brownies. Back in the dark ages while living in the dorms at BYU, the cafeteria often served these. I loved the chewiness and the layer of green mint frosting with chocolate frosting over. Recently found the recipe on BYU's Dining Services site--lots of fantastic recipes there: http://dining.byu.edu/mix/recipes.html including the brownie one (plus another favorite called Cherry Chews). Here's the exact url for brownies: http://dining.byu.edu/mix/classic_byu/mint_brownies.html I didn't put nuts in there since hubby hates them in almost anything.

I didn't use chocolate frosting, but made a glaze out of chocolate chips and crisco in microwave, put it in a baggie then snipped a little bit off corner so could drizzle it over, then sprinkled some red sugar. Also used 3/4 c. whole wheat flour instead of all flour.
Couple years ago, one of my grandsons, handsome Adam the younger (named for my son and my father), stayed with us for a week. During that time we made good ole chocolate chippers. The last cookie we made was this giant one for Boppa, who LOVES chocolate chip cookies that are brimming with chips. This picture doesn't show the chips but they're in there. The recipe is one from Mrs. Fields' when she appeared on TV years and years ago. She stressed using lots of vanilla and oodles of chips. I usually add oatmeal, too and sometimes other goodies, but never nuts since hubby hates them in just about anything. Often add fresh ground whole wheat flour to make more nutritious :) !! You can find copies of her recipe all over the internet.

Monday, December 5, 2011

I-SPY MY NEW I-SPY QUILT

Have been putting off sewing this together for quite some time. Recently saw this quilt: http://www.flourishingpalms.blogspot.com/ at Flourishing Palm. Had seen many versions of an I-Spy from just sewing blocks together with plain binding to having each block separated with sashing (NOT happening here!!!) and all sorts of things in between. When I saw Linda's, it seemed like a perfect design for me--not so fussy and allowing for a lot of blocks. Mine is still a bit different than hers and love how she put lighter blocks in the middle--mine was just grab something from the pile that was a bit different than the one before it!

Originally I gathered about 200 blocks, but not sure at this point how many there are. Can't remember who sponsored it, but someone had a bunch of I-spy block swaps and I got in on one--with the result of some really cool blocks. Plus my dear friend Shirley, gave me a lot of blocks left over from a quilt she'd done awhile ago. Hers were a different size, but serendipitedly it worked out well with 7 of hers equalling the length of 9 of mine!

The back will have some more blocks that didn't make it on front. I also have some really fun material to put on back with those. And I'm making a list of all blocks that will be laminated and put in a pocket on the back so my girlie girls and boyly boys can search for things when they're playing on it. And, of course, it'll be nice and warm to snuggle under.

Wednesday, November 30, 2011

CANDY SWIRL CANDY TABLE RUNNER

Saw this: http://www.sewdaily.com/media/p/3299.aspx and here:http://www.interweave.com/wir/qr111119.htm
Decided it was needed at my house. I copied the pattern and what directions I could find without having to buy the magazine or wherever all the info was. Some thoughts if I made this again are: carefully cut out the white part that everything will be fused to (imagine how I know this!!??); cut pieces that meet where candies meet longer than called for, then cut off as needed--makes it a lot easier than trying to cover gaps (again, how do I know this??!!); make sure you know which side of the paper covering your fusible is the correct side!!; pre-wash all fabrics and use a color catcher sheet when doing that and when washing finished project; you can make this one candy or a lot more if want, but if trying it again, I'd consider making each candy separately and use bias around the edges, then tack together; if wanting to do different reds as shown, think that through when cutting out--originally it was going to be all the more solid red but I wanted variety and didn't think it through, so it's a bit interesting; read the directions thoroughly!! I put the batting under the white background and added other material to quilt it as you're zigzagging each piece--the look is ok for me, but it does do that bunching up that is fun in quilts when you take the finished quilt out of the dryer; found it worked best to quilt the whole center candy first, then outer ones and liked the look best when I started at one outer edge of a swirl, sewed through center and onto the opposite swirl of the same color, then turned it around and sewed through on the other side of both swirls. Sorry there are no in progress pictures and that this all makes sense. Think it would be nice without batting, too.

Looked online for candles that might go with it--wow, some peppermint looking/smelling candles can be super expensive! Found some nice things at Pier One--peppermint cream I think is the line and I got votives and some tealights that will be cute sitting in centers of each candy. Not hard to do if you pay attention--not my strong suit, obviously! And they weren't hard, really and went pretty fast. Now, to just get my coffee table cleared off!

Tuesday, November 15, 2011

Whole Grain Bread and Rolls--Try It...You'll Love It!

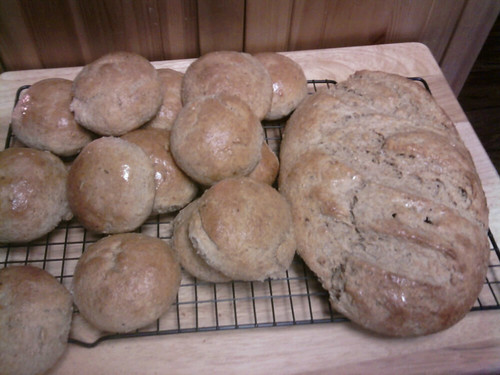
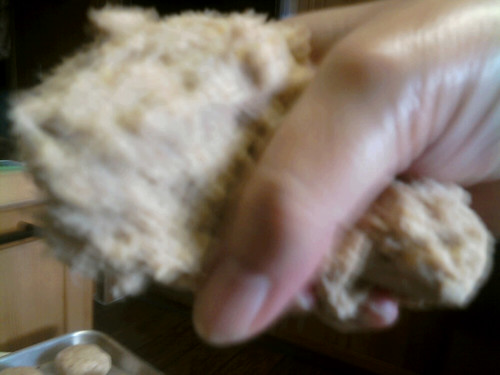
hot baked rolls and loaf with butter on topThis is one of the best bread recipes I've ever used. My dough is a variation of Chef Brad's 10 grain bread here: http://www.chefbrad.com/grain/free-recipes_view.php?category=Bread&recipeid=170&rcatid=3 My recipe started with 1 cup of multi grain cracked cereal, 1 cup of rolled oats and about 1/2 cup raw sunflower seeds. Next was oil and sugar instead of xagave nectar. Could use honey, molasses, maple syrup, turbinado, or brown sugar. Someone I knew used to use ground up apples or applesauce in bread instead of oil or butter--do not know if it's equal amounts. Didn't have dough enhancer, but think that's mainly to help bread not be as dense--like it dense, personally. For flours I used a mixture of coarsely ground whole wheat flour, whole wheat flour and white flour. Forgot salt, but seldom use amount listed anyway. Used 2 T. yeast and it rose very quickly. Next time I'd probably just go with his suggestion to not worry about risings. At least for loavesbreaking off handful for a roll
Sorry for lousy picture but it shows how to grab a piece of dough then pinch off a handful.
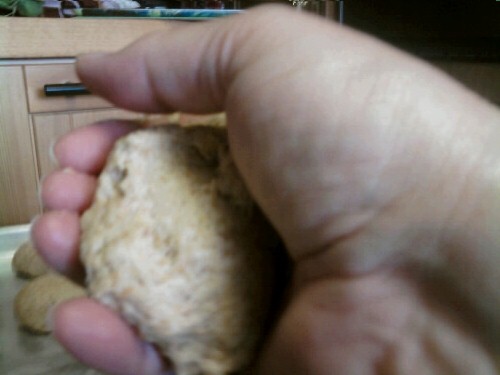
handful of dough for a roll
Handful of dough almost ready to put on oiled sheet pan. I just roll them around in my hand for a bit to get a pretty smooth ball. You can work the dough around to the bottom to smooth it out if you wish--that's what I do with the loaves. Doesn't matter too much what the bottom looks like as it'll rise and smooth out, but you can work at making it smoother and sort of tuck everything in.
dough ready to shape into loaf
Bottom of large piece almost ready to shape into a loaf--needs a bit more smoothing
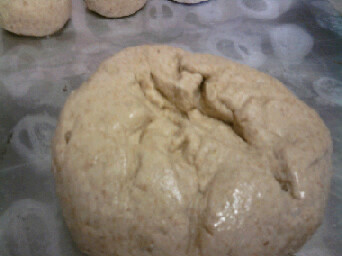
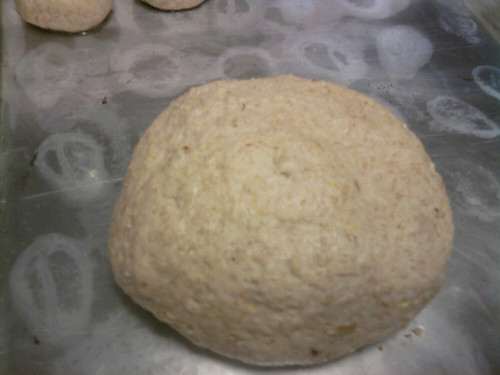
top side of dough before shaping
Smooth top, ready to shape into a loaf as wish. Could just leave round, put in a pan, or shape into oblong shape as shown below.
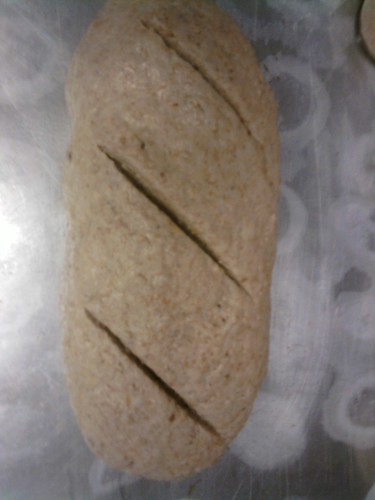
slashes on shaped loaf
Shaped loaf with slashes. The resulting loaf was spread out and flat since it rose a bit longer. He suggested just shaping and put into a pan, then right into the oven. I decided to let it rise. Happy with rolls, less happy with loaf, but it all tastes delicious. Made this last week and sprinkled dried oregano, thyme and parmesan on top--super wonderful in sandwiches, toasted or the toasted cheese sandwiches we did with thin slices of apple and a variety of cheeses--cheddar, havarti and on some blue cheese.
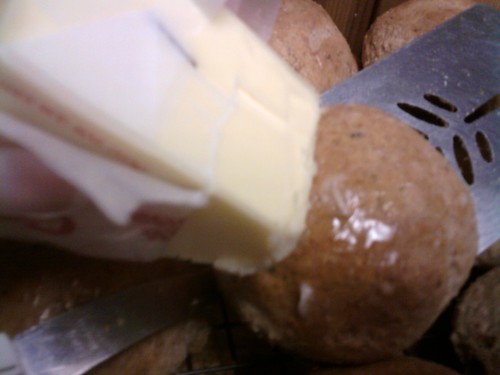
buttering hot roll top
Buttering tops. Find it easiest to use butter in the wrapper and uses less than if melt it and spread on tops. Try this recipe--even if all you've got available is rolled oats, it will be delicious!! My favorite flour is King Arthur : http://www.kingarthurflour.com/ Ours came from Wenatchee Safeway. Bob's Red Mill 8 Grain Cereal came from Wenatchee Health Food Store, as did raw sunflower seeds and other flours not used in this batch. My friend swears by Fred Meyers for all sorts of grains, so would like to look there. Other things you could put in the bread would be granola--maybe crush it some or put in Cuisinart or blender a bit. Also, could add a bran cereal.

I have happy, happy memories of my maternal grandmother making the highest bread and rolls--swear they were 6 inches high!! She had a huge pan that fit a cazillion rolls or three large loaves. My 80+ year old auntie still makes about 8 loaves of bread a week, most of which she gives away. One of the first times my hubby came to visit me in my college apartment I was making bread--he was impressed!! :) And, the house sure smells good when you're baking it. So...again, try it!

Sunday, November 13, 2011

Beautiful Bows How-To

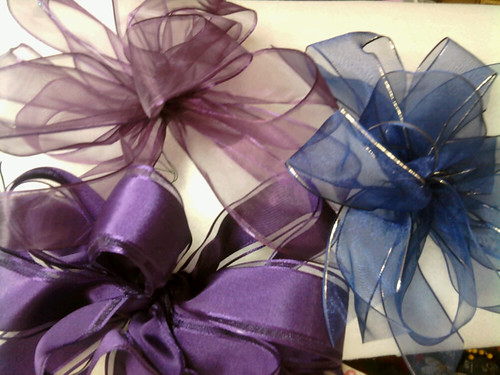
sabra three bows
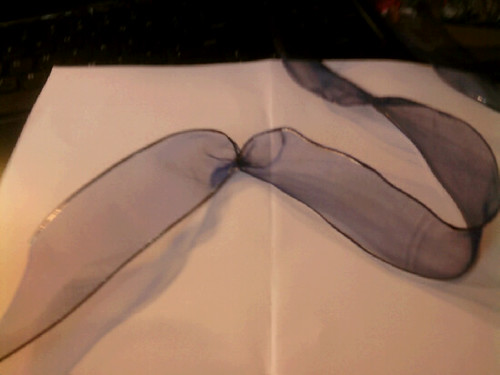
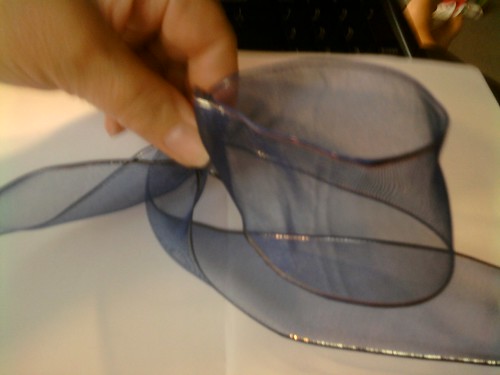
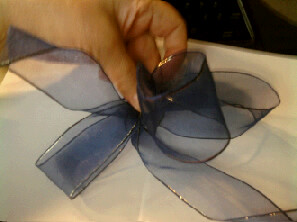
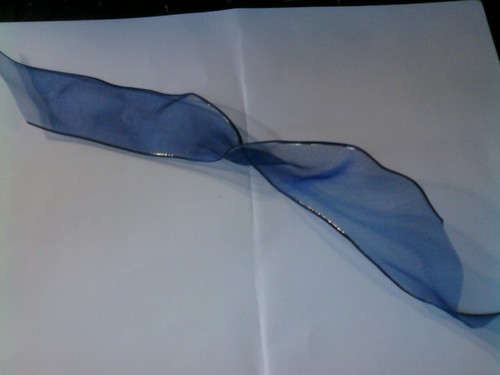
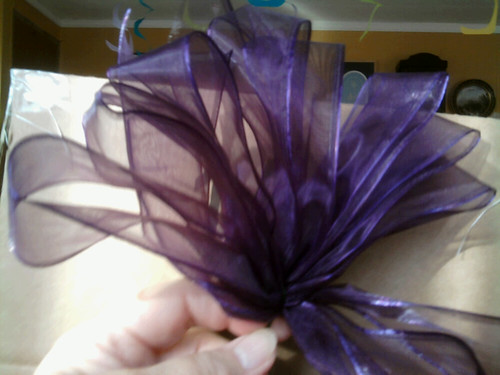
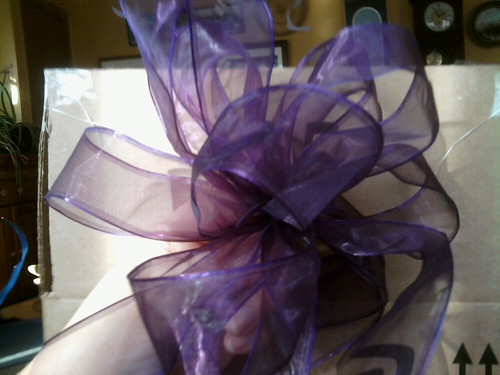
About 20 years ago, a friend in Germany, taught me to make beautiful bows from any ribbon. My favorites are those wired ones Costco sells, but really any ribbon will work. If using 2" ribbon, you need a piece about 80 inches long for eight nice loops plus two pieces about a foot long for extra tails. I just made 45 ribbons for a grandniece's reception and just let it roll out across the room so could cut it as they were made. My friend always used pipe cleaners, but never can seem to keep them on hand, so use that craft wire on a small paddle...not sure what gauge it is, but it works well...want one that's not going to break easily when you twist it. Here's a place with a video.http://embitca.hubpages.com/hub/How-to-make-a-Bow-out-of-Ribbon Hers are a bit different, but basically shows you how to do it. I always twist each time I bring the ribbon back to my fingers and the two extra pieces are twisted before getting wired in. It's essential to twist if you're using ribbon that's printed on one side, or shiny only on one side. I also "fuss" a bit with each loop--twist and turn it a bit as it's getting fluffed so the bow is really full. For 2 inch ribbon each loop is about five inches, and there are usually four loops on either side. When I made them for my son's wedding, we used three inch ribbons, so made longer loops and more so they would be almost a ball shape. Also, use longer wire than she suggests--probably 8 inches for smaller bows and 10 or 12 for bigger so you can easily wire them to something else. I fold the wire into a hair pin shape then slip it over the bow in my hand and twist it a few times. You can curl up the wire if they're going to just sit on a table or in a bowl, but you have the wire if needed.sabra bow start of loop
Start of bow
sabra bow first loop
First loop
sabra bow several loops formed
Several loops made
sabra bow tailsabra bow ready to wire
Ready to wire
sabra bow wired not fluffed
Wired--you can barely see the wire there on my index finger. Asked someone to put my wire paddle away and they did--right where I said to, but old brainies can't remember where that is so don't know the gauge!!
sabra bow wired and fluffed

Friday, October 28, 2011

Blogger's Quilt Festival--Supernova in Black and White

Here's my entry for Blogger's Quilt Festival sponsored over at: http://amyscreativeside.com/ . Thanks so much to Amy and all the inspiration that oozes from her and her festival! Freshly Pieced's Supernova Quilt Along was inspiration for a quilt made for our nephew and his darling wife. She wanted modern in black and white, so I started looking around and just fell in love with this quilt: http://freshlypieced.blogspot.com/2011/03/supernova-quilt-along-join-me.html Backing is a high count beautiful grey sheet. Barb Smith, who longarmed, said it was more difficult to quilt because of that high count, but she did a beautiful job. She used the pantograph for block area, feathers in gold and cute black circly things for small black border which you can see on picture of a back corner.
Love pictures of folded quilts, so here you go!

Quilting on a corner. Block area done in white, black border done in black, gold border in gold.


There's a flickr group with lots of supernovas others have done and I did find one in black and white. I wanted to make it big enough for their bed if they want to use it there and fit their decor, so ended up with 25 blocks instead of original nine. These are BIG blocks--mine ended up being not quite 18 inches square, but they all seemed to turn out equal sized. I think there are 47 pieces per block! Had lots of fun picking out fabric as I decided there should be different corner pieces and centers for each piece. So that meant 50 different fabrics...making it "so very hard" to HAVE to shop for all of them!! :) Hubby and I had a lot of discussions about the borders. It's done differently than original to make it as big as needed. I would have been happy with just black and white for the whole top, but since gold is one of the couple's accent colors, my hubby wanted that and now I think that turned out very well.
Mock ups of several blocks. You can see number 8 sample and actual block. Block 8


Block 1


Directions were very good, but somehow I just couldn't get them straight in my head without doing little samples. It was time consuming, but only way I could figure out how to sew them. Honestly, I just got dizzy with all that black and white! Maybe it's a combination of my old, old eyes and tri-focals! I cut a lot of extras of each shape so have enough to make a couple smaller quilts--when I get some other things done. There's just something about black and white! There are so many darling fabrics...look for Route 66, Dr. Seuss, dog bones, newspaper articles about dogs!, lots of flowers, but no ants. I did get some fabrics with ants on them, but they were so real looking I just couldn't use them on a bed quilt. Think they'd be darling for a picnic quilt with reds in it and a jeans backing. Enjoy hundreds of beautiful quilts in the festival--you'll be so inspired.

Sunday, October 23, 2011

BOUNTIFUL BASKETS TOP IS DONE!!!

So very happy to have this done and enjoyed just about every minute. I wish I had kept track of how many hours it took! April 5th this year is a post with pictures of each individual blocks and black border pieces, with some detail about how I do most of my applique pieces. Mostly I used templar plastic for the templates to iron fabric around. For all baskets cardboard from cereal boxes was used as there wasn't much detail and several were larger than the plastic sheets. I have re-used many of the templates for other applique projects--either as is, or cutting a smaller template.
http://fligamapoof.blogspot.com/search/label/baskets%20in%20bloom

The pattern is by Janice Joyner for Sisters' Scraps Quilt shop. http://webstore.quiltropolis.net/stores_app/Browse_Item_Details.asp?Store_id=722&page_id=23&Item_ID=1021 Didn't she design a beautiful quilt? I saw it and fell instantly in love. The pattern wasn't cheap, but would have taken me hours and hours to design something like that. If my daughter doesn't want the pattern, I might do a giveaway one of these days.

Wednesday, October 19, 2011

CLOTH FLOWER BOWLS


Time to sew and flowers with words fabrics, go together. Red print and red floral go together.


While looking for directions for making a cloth tray, I came across a tutorial for cloth flower bowls at Poppy Lane: http://vintagehouseholdtas.blogspot.com/2008/10/sewing-tutorial-fabric-flower-bowls-ive.html Such a great tutorial with fantastic pictures. I'm including some of my rather sad pictures taken with my phone, because the fabrics are different from hers and just wanted to show you! She said to make the stitches about 1/8th inch in from one of the notches, mine are about 1/4 inch and wonder if up more would make them a bit deeper.


Also think it would be fun to put some batting into bottom of dish, then put a piece of plastic (cut our from one of those flexible cutting boards?) under that and sew around to make it a pin cushion. My friend is using hers for collecting business cards.


This is a place for square cloth trays: http://www.skiptomylou.org/2011/09/13/fabric-trays/ at bottom of that post are several hot links for other trays/boxes, etc. Have only done flower ones and they are super easy.

Thursday, October 6, 2011

SURPRISE AND FAMILY QUILT

Thirty-some years ago, while living in Germany with my active duty hubby, I designed this wall hanging to represent our family. The house is the family home in Utah of my husband's grandparents. He spent many happy times there and I was privileged to spend a few myself...including in the VERY cold upstairs bedroom. My very talented sister in law, Dianne, did a block print of it as part of her studies at BYU and is the inspiration for the house.


The orchard, mountains, and lake represent my side of the family. My mother's family was and some still are orchardists, my father's was and some still are farmers. We've always loved the mountains and lakes and ocean with their fishing possibilities of Washington state. The people are myself, hubby, our girl and boy and my brother. At the time of this, my parents lived on a 5 acre orchard, and we now live in the home, but on just one acre without orchard but lots of greenery mostly planted by mom and brother John.


I entered this in a contest sponsored by a military publication and won honorable mention, so was very pleased that others enjoyed it, too. All the sewing was done on my then new Pfaff machine and free hand. Had a lot of fun making it and still love looking at it now.


This above is the surprise. It's part of a very rough drawing of a quilt in progress for a special couple. I LOVE the colors and layout so may have to someday make me one!

Wednesday, September 28, 2011

PIZZA SWIRL BREAD

Wishing now I'd taken more pictures of the process but this is it! I saw this post at: http://www.howsweeteats.com/?s=pizza+swirl&archive-dropdown= and decided to try it with a couple variations--ALWAYS variations when I cook! I used Ginny's Dinner Rolls recipe which is below, but for the life of me, I can't figure out how to arrange things on here, so it won't be in a regular recipe format! Instead of just pepperoni, there's chopped pepperoni and salami. As for cheese, I had mozzarella on hand and also added some slices of American cheese. Used just oregano since couldn't find Italian mix in my cupboards--did I say this was all happening in the wee hours of the morning? Finished up at 6 a.m.! I'd use a thicker sauce next time and also would roll dough out quite thin so everything was distributed a bit better, but it's yummy. This could be changed in so many, many ways. Used about 3/4 of dough for this one and then rest for a small cinnamon/craisin roll that is just delicious.

This dough makes the most wonderful rolls--dinner, hamburger, cinnamon, whatever!! Ginny's been a friend since we lived on Fort Irwin Army Post in the middle of the Mojave Desert in mid 80's. We were in a tiny branch of the LDS Church together and our children were wonderful friends. Ginny and I both taught school at Fort Irwin, also.

Ginny's Dinner Rolls: Dissolve 2 Tbl. yeast in 1 1/3 c. water. Add 1/4 c. sugar, 2 tsp. salt, 2 beaten eggs and 1/4 c. oil to this (used my kitchenaid mixer with greased bread hook). Then add in 4 1/2 to 5 c. flour or enough to form a stiff dough. I kneaded it in mixer, but you can turn it onto floured surface. Knead until smooth and satiny. Let rise until double. I put some oil in mixer bowl after taking it off machine and then rolled the dough around in it, covered bowl with plastic wrap and let it rise about an hour. Because it has eggs in it, you can let it rise longer and punch down a couple times if need to extend the time. It says to let rise another time after forming into desired shapes, but I didn't let it rise that much after getting it all together. For just rolls bake 12-15 minutes at 400.

For pizza bread, I spread sauce on generously then put on mozzarella and garlic, then meat and sliced cheese over then oregano. Rolled it up, spread butter over and sprinkled with parmesan, then put it on pampered chef's sided cookie sheet knowing it was going to probably leak (it did). Baked at 350 for about 45 minutes which was a bit much for the smaller one but it's so good!

Friday, September 23, 2011

BEAUTIFUL ANNABELLA BAG

My beautiful new Annabella Bag! (washable stabilizer is still on 3-D flower)Lining with pockets sewn onto them and swivel catch attached. These are nice, ample pockets. On narrow pen pocket, I put in a pen then sewed across about 1 inch or so up from bottom so pen wouldn't fall clear down. Flap ready to be sewn on. My only real complaint about pattern is nothing telling me where to put magnetic snap and it turned out not really to my liking but, oh, well!! Next time will be different.

Insides of bag showing iron on fleece and opening for turning. I did leave about 7-8 inches instead of what they said--hard to turn as it was. I couldn't find the exact foundation pellon she said, so used what local quilt shop suggested and doubled it. It gives it a nice heft, so think it worked fine . Outsides ready to be sewn. Oh, used my own fabrics, not a jelly roll.


Pattern from Cool Cat Creations and there's a matching little clutch if you want. Love it and enjoyed most of the making of it. It's a big bag so have actually figured out how to decrease the pattern to 75% which I think is a better size. I'll be making bags that size for dd and dgd soon. They've helped the process by figuring out their own colors, preparing strips and tracing flowers onto fusible web. Making strips and sewing them were most tedious part and maneuvering big heavy pieces of foundation pellon wasn't my idea of fun except as new "fabric" emerged. All in all this is definitely something to make again.

Saturday, July 30, 2011

BOTTLE COZY

Beginning of one of several water bottle cozies I'm making for grandchildren. They love that Boppa gets small ones from Costco, fills cooler with ice and puts it on deck so kiddos can get their own. Usually they have me write their names on with permanent marker and I'll draw something that represents them. Someone showed a tutorial for making these in a shorter version. Like them taller so will keep water cooler longer. Cut front and back and layer of batting each 9 inches wide and 5 inches tall. If add extra batting might need to add 1/4 inch to each measurement. Use insulated batting if wish. Put front and back right sides together and then layer on batting. Leave opening about 2.5 inches and sew 1/4 inch seam around--put opening on bottom, not like I did! Trim and clip corners, then turn. I used closed forseps to push out corners. Sew opening shut. Bottom is just a strip 2.5 inches by 6. I did cut two layers of batting for it. 2.5 x 2.5.


After sewing that and turning it inside out, I butted one end up to bottom of main part and zigzagged them together about 1 inch from side, then sewed other end of bottom, too...had to scrunch it up a bit but it worked out ok. Sorry picture showing it under foot is so fuzzy.


Zigzagged sides together so didn't have to do any hand sewing.


Finished product next to forceps. Got forceps at local pharmacy for just a few dollars each.

Bottom sewn this way makes it easy to remove cozy from empty bottle.


Each child will be able to pick their own materials next week when we get to see them. Adjust measurements if want to use it for larger bottles. Would work for re-usable bottles, too.