Sunday, November 13, 2011

Beautiful Bows How-To

sabra three bows
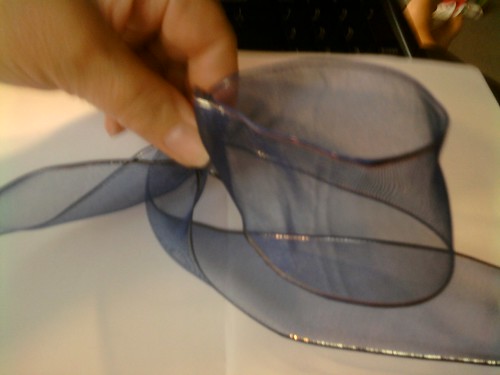
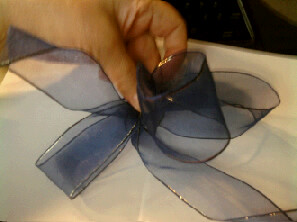
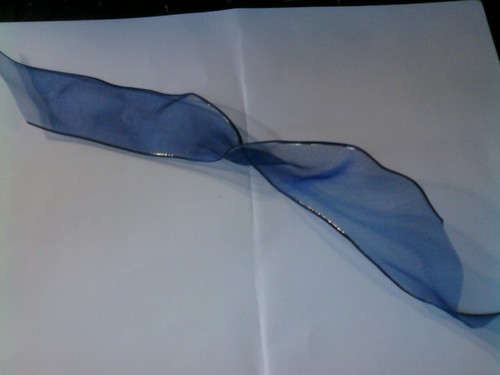
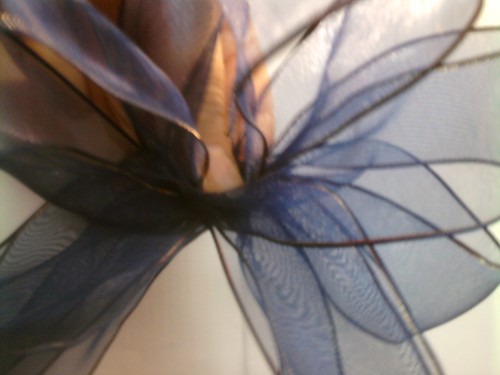
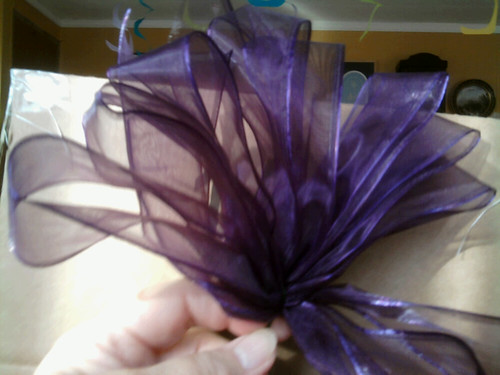
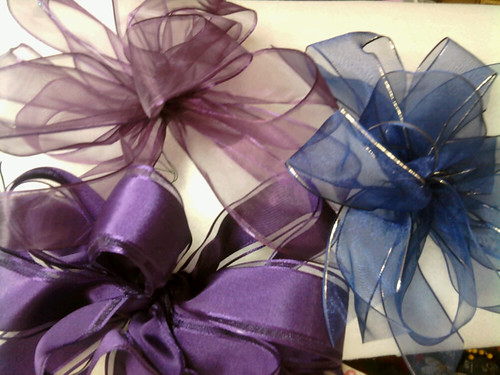
About 20 years ago, a friend in Germany, taught me to make beautiful bows from any ribbon. My favorites are those wired ones Costco sells, but really any ribbon will work. If using 2" ribbon, you need a piece about 80 inches long for eight nice loops plus two pieces about a foot long for extra tails. I just made 45 ribbons for a grandniece's reception and just let it roll out across the room so could cut it as they were made. My friend always used pipe cleaners, but never can seem to keep them on hand, so use that craft wire on a small paddle...not sure what gauge it is, but it works well...want one that's not going to break easily when you twist it. Here's a place with a video.http://embitca.hubpages.com/hub/How-to-make-a-Bow-out-of-Ribbon Hers are a bit different, but basically shows you how to do it. I always twist each time I bring the ribbon back to my fingers and the two extra pieces are twisted before getting wired in. It's essential to twist if you're using ribbon that's printed on one side, or shiny only on one side. I also "fuss" a bit with each loop--twist and turn it a bit as it's getting fluffed so the bow is really full. For 2 inch ribbon each loop is about five inches, and there are usually four loops on either side. When I made them for my son's wedding, we used three inch ribbons, so made longer loops and more so they would be almost a ball shape. Also, use longer wire than she suggests--probably 8 inches for smaller bows and 10 or 12 for bigger so you can easily wire them to something else. I fold the wire into a hair pin shape then slip it over the bow in my hand and twist it a few times. You can curl up the wire if they're going to just sit on a table or in a bowl, but you have the wire if needed.sabra bow start of loop
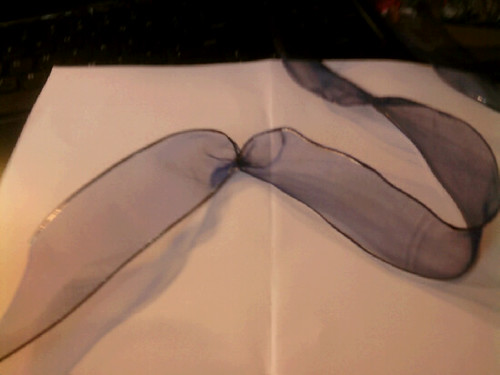
Start of bow
sabra bow first loop
First loop
sabra bow several loops formed
Several loops made
sabra bow tailsabra bow ready to wire
Ready to wire
sabra bow wired not fluffed
Wired--you can barely see the wire there on my index finger. Asked someone to put my wire paddle away and they did--right where I said to, but old brainies can't remember where that is so don't know the gauge!!
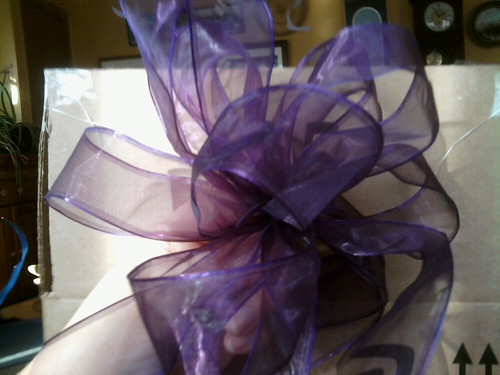
sabra bow wired and fluffed

Friday, October 28, 2011

Blogger's Quilt Festival--Supernova in Black and White

Here's my entry for Blogger's Quilt Festival sponsored over at: http://amyscreativeside.com/ . Thanks so much to Amy and all the inspiration that oozes from her and her festival! Freshly Pieced's Supernova Quilt Along was inspiration for a quilt made for our nephew and his darling wife. She wanted modern in black and white, so I started looking around and just fell in love with this quilt: http://freshlypieced.blogspot.com/2011/03/supernova-quilt-along-join-me.html Backing is a high count beautiful grey sheet. Barb Smith, who longarmed, said it was more difficult to quilt because of that high count, but she did a beautiful job. She used the pantograph for block area, feathers in gold and cute black circly things for small black border which you can see on picture of a back corner.
Love pictures of folded quilts, so here you go!

Quilting on a corner. Block area done in white, black border done in black, gold border in gold.


There's a flickr group with lots of supernovas others have done and I did find one in black and white. I wanted to make it big enough for their bed if they want to use it there and fit their decor, so ended up with 25 blocks instead of original nine. These are BIG blocks--mine ended up being not quite 18 inches square, but they all seemed to turn out equal sized. I think there are 47 pieces per block! Had lots of fun picking out fabric as I decided there should be different corner pieces and centers for each piece. So that meant 50 different fabrics...making it "so very hard" to HAVE to shop for all of them!! :) Hubby and I had a lot of discussions about the borders. It's done differently than original to make it as big as needed. I would have been happy with just black and white for the whole top, but since gold is one of the couple's accent colors, my hubby wanted that and now I think that turned out very well.
Mock ups of several blocks. You can see number 8 sample and actual block. Block 8


Block 1


Directions were very good, but somehow I just couldn't get them straight in my head without doing little samples. It was time consuming, but only way I could figure out how to sew them. Honestly, I just got dizzy with all that black and white! Maybe it's a combination of my old, old eyes and tri-focals! I cut a lot of extras of each shape so have enough to make a couple smaller quilts--when I get some other things done. There's just something about black and white! There are so many darling fabrics...look for Route 66, Dr. Seuss, dog bones, newspaper articles about dogs!, lots of flowers, but no ants. I did get some fabrics with ants on them, but they were so real looking I just couldn't use them on a bed quilt. Think they'd be darling for a picnic quilt with reds in it and a jeans backing. Enjoy hundreds of beautiful quilts in the festival--you'll be so inspired.

Sunday, October 23, 2011

BOUNTIFUL BASKETS TOP IS DONE!!!

So very happy to have this done and enjoyed just about every minute. I wish I had kept track of how many hours it took! April 5th this year is a post with pictures of each individual blocks and black border pieces, with some detail about how I do most of my applique pieces. Mostly I used templar plastic for the templates to iron fabric around. For all baskets cardboard from cereal boxes was used as there wasn't much detail and several were larger than the plastic sheets. I have re-used many of the templates for other applique projects--either as is, or cutting a smaller template.
http://fligamapoof.blogspot.com/search/label/baskets%20in%20bloom

The pattern is by Janice Joyner for Sisters' Scraps Quilt shop. http://webstore.quiltropolis.net/stores_app/Browse_Item_Details.asp?Store_id=722&page_id=23&Item_ID=1021 Didn't she design a beautiful quilt? I saw it and fell instantly in love. The pattern wasn't cheap, but would have taken me hours and hours to design something like that. If my daughter doesn't want the pattern, I might do a giveaway one of these days.

Wednesday, October 19, 2011

CLOTH FLOWER BOWLS


Time to sew and flowers with words fabrics, go together. Red print and red floral go together.


While looking for directions for making a cloth tray, I came across a tutorial for cloth flower bowls at Poppy Lane: http://vintagehouseholdtas.blogspot.com/2008/10/sewing-tutorial-fabric-flower-bowls-ive.html Such a great tutorial with fantastic pictures. I'm including some of my rather sad pictures taken with my phone, because the fabrics are different from hers and just wanted to show you! She said to make the stitches about 1/8th inch in from one of the notches, mine are about 1/4 inch and wonder if up more would make them a bit deeper.


Also think it would be fun to put some batting into bottom of dish, then put a piece of plastic (cut our from one of those flexible cutting boards?) under that and sew around to make it a pin cushion. My friend is using hers for collecting business cards.


This is a place for square cloth trays: http://www.skiptomylou.org/2011/09/13/fabric-trays/ at bottom of that post are several hot links for other trays/boxes, etc. Have only done flower ones and they are super easy.

Thursday, October 6, 2011

SURPRISE AND FAMILY QUILT

Thirty-some years ago, while living in Germany with my active duty hubby, I designed this wall hanging to represent our family. The house is the family home in Utah of my husband's grandparents. He spent many happy times there and I was privileged to spend a few myself...including in the VERY cold upstairs bedroom. My very talented sister in law, Dianne, did a block print of it as part of her studies at BYU and is the inspiration for the house.


The orchard, mountains, and lake represent my side of the family. My mother's family was and some still are orchardists, my father's was and some still are farmers. We've always loved the mountains and lakes and ocean with their fishing possibilities of Washington state. The people are myself, hubby, our girl and boy and my brother. At the time of this, my parents lived on a 5 acre orchard, and we now live in the home, but on just one acre without orchard but lots of greenery mostly planted by mom and brother John.


I entered this in a contest sponsored by a military publication and won honorable mention, so was very pleased that others enjoyed it, too. All the sewing was done on my then new Pfaff machine and free hand. Had a lot of fun making it and still love looking at it now.


This above is the surprise. It's part of a very rough drawing of a quilt in progress for a special couple. I LOVE the colors and layout so may have to someday make me one!

Wednesday, September 28, 2011

PIZZA SWIRL BREAD

Wishing now I'd taken more pictures of the process but this is it! I saw this post at: http://www.howsweeteats.com/?s=pizza+swirl&archive-dropdown= and decided to try it with a couple variations--ALWAYS variations when I cook! I used Ginny's Dinner Rolls recipe which is below, but for the life of me, I can't figure out how to arrange things on here, so it won't be in a regular recipe format! Instead of just pepperoni, there's chopped pepperoni and salami. As for cheese, I had mozzarella on hand and also added some slices of American cheese. Used just oregano since couldn't find Italian mix in my cupboards--did I say this was all happening in the wee hours of the morning? Finished up at 6 a.m.! I'd use a thicker sauce next time and also would roll dough out quite thin so everything was distributed a bit better, but it's yummy. This could be changed in so many, many ways. Used about 3/4 of dough for this one and then rest for a small cinnamon/craisin roll that is just delicious.

This dough makes the most wonderful rolls--dinner, hamburger, cinnamon, whatever!! Ginny's been a friend since we lived on Fort Irwin Army Post in the middle of the Mojave Desert in mid 80's. We were in a tiny branch of the LDS Church together and our children were wonderful friends. Ginny and I both taught school at Fort Irwin, also.

Ginny's Dinner Rolls: Dissolve 2 Tbl. yeast in 1 1/3 c. water. Add 1/4 c. sugar, 2 tsp. salt, 2 beaten eggs and 1/4 c. oil to this (used my kitchenaid mixer with greased bread hook). Then add in 4 1/2 to 5 c. flour or enough to form a stiff dough. I kneaded it in mixer, but you can turn it onto floured surface. Knead until smooth and satiny. Let rise until double. I put some oil in mixer bowl after taking it off machine and then rolled the dough around in it, covered bowl with plastic wrap and let it rise about an hour. Because it has eggs in it, you can let it rise longer and punch down a couple times if need to extend the time. It says to let rise another time after forming into desired shapes, but I didn't let it rise that much after getting it all together. For just rolls bake 12-15 minutes at 400.

For pizza bread, I spread sauce on generously then put on mozzarella and garlic, then meat and sliced cheese over then oregano. Rolled it up, spread butter over and sprinkled with parmesan, then put it on pampered chef's sided cookie sheet knowing it was going to probably leak (it did). Baked at 350 for about 45 minutes which was a bit much for the smaller one but it's so good!

Friday, September 23, 2011

BEAUTIFUL ANNABELLA BAG

My beautiful new Annabella Bag! (washable stabilizer is still on 3-D flower)Lining with pockets sewn onto them and swivel catch attached. These are nice, ample pockets. On narrow pen pocket, I put in a pen then sewed across about 1 inch or so up from bottom so pen wouldn't fall clear down. Flap ready to be sewn on. My only real complaint about pattern is nothing telling me where to put magnetic snap and it turned out not really to my liking but, oh, well!! Next time will be different.

Insides of bag showing iron on fleece and opening for turning. I did leave about 7-8 inches instead of what they said--hard to turn as it was. I couldn't find the exact foundation pellon she said, so used what local quilt shop suggested and doubled it. It gives it a nice heft, so think it worked fine . Outsides ready to be sewn. Oh, used my own fabrics, not a jelly roll.


Pattern from Cool Cat Creations and there's a matching little clutch if you want. Love it and enjoyed most of the making of it. It's a big bag so have actually figured out how to decrease the pattern to 75% which I think is a better size. I'll be making bags that size for dd and dgd soon. They've helped the process by figuring out their own colors, preparing strips and tracing flowers onto fusible web. Making strips and sewing them were most tedious part and maneuvering big heavy pieces of foundation pellon wasn't my idea of fun except as new "fabric" emerged. All in all this is definitely something to make again.