Wednesday, July 4, 2012

BATTENBERG BEAUTY

This month on the Daring Kitchen, baker's were challenged to make Battenberg Cakes in honor of Queen Elizabeth's Jubilee...since I'm a granddaughter of British Isle immigrants, I thought it was appropriate! There are sort of a pound cake, baked in either a special pan or with divisions in a larger pan to make at least four separate strips of cake.  Then those strips are held together with something like jelly or strained jam.  After they're together, fondant/marzipan/chocolate plastique covers it.  Here's my version:
Triple Threat Battenberg Cake

Mixing Chocolate Plastique--very easily came together!
Takes a bit to get it warmed up enough to roll out.  Next time would use  chocolate powder as it ended up with  white  on the outside.  Some people had shiny plastique but don't know how they did it


Pampered Chef Casserole dish prepared to hold three different batters.  Made tinfoil divisions, then covered them and bottom of pan with buttered parchment paper.

Used the spatula to measure strips and cut with sharp serrated knife
Made green mint, yellow orange, and chocolate cake by dividing batter into three bowls and then colored and  flavored them

Cakes out of pan and trimmed
Cake strips "glued" together and covered with applebutter.  Next time I'd use the recommended apricot or something less spicy, and would frost with buttercream before covering with plastique.  Hubby would have much preferred buttercream for the "glue" and covering!
Batter before dividing--nice batter

Pulverized a whole orange to put in cake batter after taking out seeds

Rice flour I made in my Magic Mill from white rice kernals
Someone even made a rubik's cube (look it up online) and lots of Daring Kitchen baker's made just beautiful decorations for their cakes.  One think that was a problem was cutting the plastique--it tended to crack.  Oh, and DO NOT chill your ready to be covered cake or plastique cracks very easily--yep, I know about this from experience!  Three of my girlie girls loved this when they came to visit gramma last week...sometime we're going to make it when we're not so busy decorating sugar cookies, learning to do crewel embroidery and just generally having fun, fun, fun!!!


Hope you'll go here: http://www.joyofbaking.com/ModelingChoc.html for the chocolate plastique, or if want to make your own fondant, look up marshmallow fondant--easy and tasty.  for the cake, try this site for one using pound cake mix, or use a good pound cake recipe: http://www.bhg.com/recipe/layer-cakes/battenberg-cake/

Mandy of What The Fruitcake?! came to our rescue last minute to present us with the Battenberg Cake challenge! She highlighted Mary Berry’s techniques and recipes to allow us to create this unique little cake with ease.


If you look up poundcake in my labels, you'll find my absolutely favorite and fabulous recipe from a cookbook I got in Germany in 70's.  Posted January this year.

Thursday, June 14, 2012

CANNELLONI DI CARNE AND DI MAGRO--DELIZIOSO!!!

Daring Cook's Challenge this month is Cannelloni.  This was sort of like an Italian crepe.  There were several variations.  I chose di carne--meat version, and di magro--a spinach version. This was a challenge from Manu of Manusmenu, who lives in Australia, but is native Italian and grew up in Milan.  The recipes were wonderful, but a lot of work.  She said these are for special occasions like Christmas, birthdays, anniversaries, etc.  Can totally understand why both flavor-wise and effort-wise.  Will definitely try pasta more often, though.    
Cannelloni di carne for dinner tonight--absolutely delicious.
Di carne version ready for oven in stone casserole dish.  Fit 11 in there.  Used four for dinner, then froze rest for  when Sonny and his family get here on their cross-country move back to Washington in a couple weeks.  

One of these days I'll figure out how to put recipes on here and have them work, but for now, let me suggest you do a search for both the egg pasta recipe and the cannelloni recipes, but will include my Cuisinart food processor version of the pasta.  EGG PASTA is basically: 5 large eggs, 2-3 Tbl. olive oil, 3 Tbl. water, 1 1/2 tsp. salt, 3+ c. mix of unbleached all-purpose flour and whole wheat flour.  Put flour and salt in food processor and pulse to mix, then add olive oil.  Add in eggs one at a time and water if needed.  Mine ended up being a bit too moist so had to add more flour.  At this point, I put it in an oiled baggy and put in the fridge overnight.  Today it was quite easy to roll out.  Would have loved to use my little pasta machine, but it was bought for polymer clay and is not usable for food anymore.  I do have an attachment for my Kitchenaid, but most of those parts got "misplaced" in our kitchen remodel years ago--think I need to go on a search for it.  You want a very thin sheet--didn't realize how thin it needed to be until I saw someone's and you could see the pattern of her kitchen towel through it!  That wouldn't have shown up with my whole wheat dough, but realized it needed to be very, very thin and really glad I re-rolled all 20 sheets.  (you can purchase sheet pasta, but wonder if that's a possibility in my little town!)
Used about half white and half whole wheat flour that I ground on a  rather coarse grind.   Since I can't stand at this point for very long, cookie sheets work well on a wooden tv tray to keep the flour from getting onto the floor too much.
 The meat sauce was a mixture of ground beef and ground pork sausage.  It called for white wine, but since we don't use alcohol, I used some balsamic vinegar.  Hubby shopped for me and couldn't find more than one small piece of parmesan, so shredded it along with some gouda and manchego cheeses.  Bechemal sauce is delicious...time consuming, but well worth it.  
Two sheets rolled out the first time, then realized they were way too thick and re-rolled them.  Glad I did that as they  puff up a bit in the water.
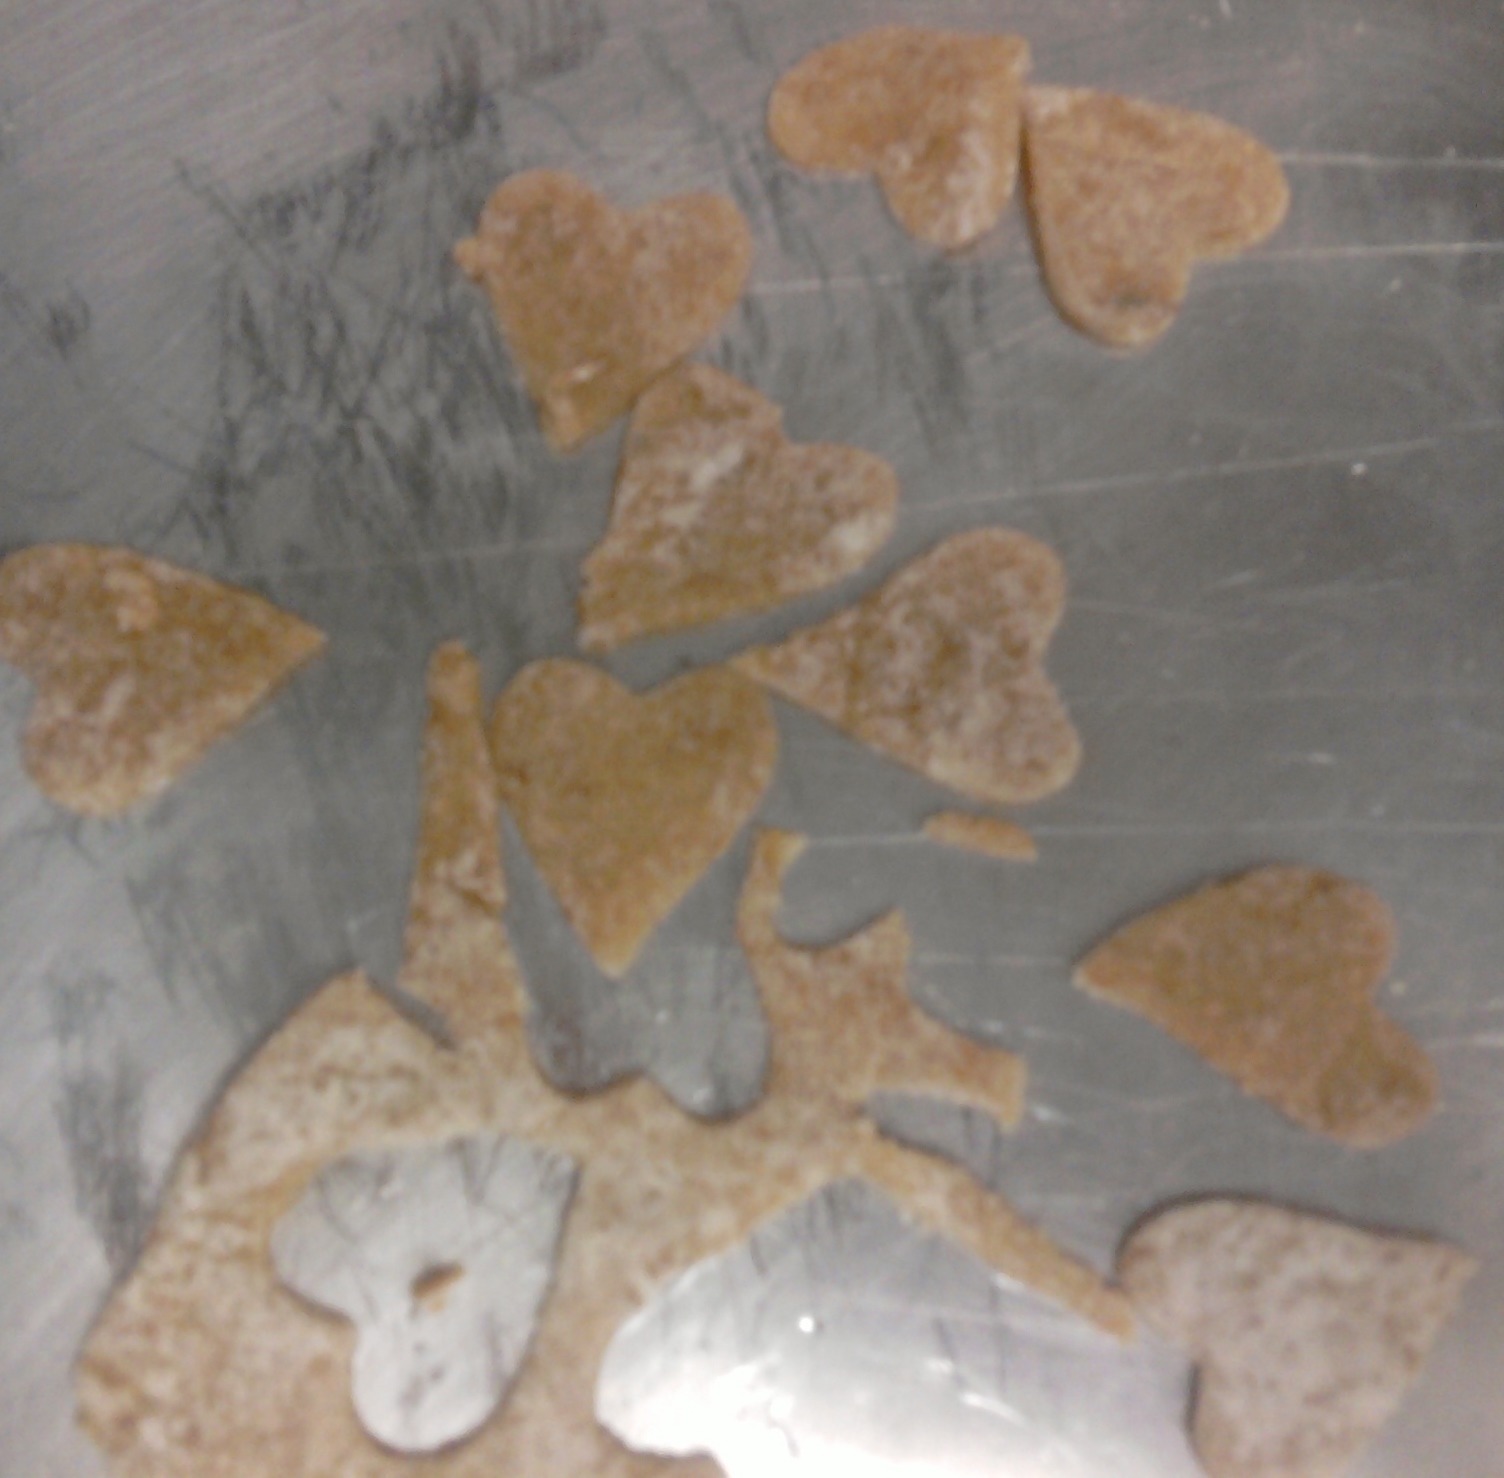
Cutting out heart shapes from scraps.  Dough didn't seem to lend itself to scraps being re-rolled, so used a tiny canape cutter.  Scraps from hearts were just cut small and eventually found their way into left over meat mix with hearts sprinkled on top.
Lots of left overs so a tray full of hearts.
Used one quarter of a piece of paper as the pattern for my sheets and pizza cutter to cut them.
Made 9 di magro cannelloni--four in this very old pyrex dish and five into a brand new dish.
  Not sure I'd ever make this again--it's delicious, but too much work for this oldie!!  Saw an easy version Jamie Oliver has, so might try that.  As it was, I spent three days working on this as I had the energy.  Hope everyone likes it!
Blog-checking lines: Manu from Manu’s Menu was our Daring Cooks lovely June hostess and has challenged us to make traditional Italian cannelloni from scratch! We were taught how to make the pasta, filling, and sauces shared with us from her own and her family’s treasured recipes!

Tuesday, June 12, 2012

Seven Garden Steps Blocks

Jennie and Clara, at Clover and Violet: http://www.cloverandviolet.com/p/stitch-quilt-along-index.html are sponsoring Garden Steps Quilt Along.  They started in February, but I've just gotten started.  Debated doing it because centers feature hand embroidery and I've not done that in years.  Finally decided it was needful!  All material had to be ordered online and at several shops to get it all, but that's ok and happy to now have all the fabrics called for. 

Added something extra to most of the embroideries.  This one has apples on the tree--we live on Apple Road, by the way.  And added "carved" R and E plus a heart for hubby and I.
Daisy block
Dragonfly block.
Flowers block

Tulips in Basket
Three Flower Block
First Seven Embroideries
 While waiting for Good Fortune fabrics to come, I started the embroideries.  Had to add sashing to a couple of them since used pieces that were smaller than center was supposed to be.  One looks ok, other a bit cattywampus, but hopefully quilting and washing will help hide that.  Directions called for making blocks before embroidering but that wouldn't work well for me--don't like the extra fabric to deal with while working the stitches.
Fiskar's fabric cutter.  LOVE this for cutting strips!


Thursday, May 31, 2012

CHALLENGING CHALLAH

Daring Baker's challenge this month is for challah.  The recipe I used was a whole wheat/all-purpose/oatmeal one with three eggs, so it's a beautiful bread.  Doubling the recipe allowed me to make two nice size loaves and freeze two pieces of dough for later.  It's a delicious bread and easy to work with.  


Ruth, from: http://www.mommy-crafts.blogspot.com/  came up with this really fun challenge.  Thanks, Ruth!  Go to her site for the recipe--I just can't seem to get recipes to post correctly on here!  I did add more oats than it called for, but loved the whole wheat recipe!

Challahs cooling on rack
Cinnamon Sugar spread on piece for six strand
Since I've done a lot of 3-braid breads before, I chose to try six-strand braiding for the long loaf (got "lost" a bit there in the braiding even though I watched the excellent videos several times.)  For me, watching it upside down was hard to figure out, so if there's a video out there showing the braiding as if I were doing it, it'd surely help this very visual learner.  The 4 braid round loaf was very easy to do for me and think it's a beautiful loaf.  My pictures are from my phone, so not the best, but tried to show you every step along the way.  Really, you should try this!
Parmesan, garlic, Italian spices spread for round challah
Rolling up one side of piece


both sides rolled up on piece
sides pinched together before rolling into strand

strands rolled up ready to be braided
braided and risen challahs...ready for oven

sliced cinnamon sugar six strand challah
Blog-checking lines: May’s Daring Bakers’ Challenge was pretty twisted – Ruth from The Crafts of Mommyhood challenged us to make challah! Using recipes from all over, and tips from “A Taste of Challah,” by Tamar Ansh, she encouraged us to bake beautifully braided breads.


Sunday, May 27, 2012

NEW YORK BEAUTY QUILT ALONG


Sew Sweetness


Okay, I'm REALLY late to be starting this, but want to make at least some of these beautiful blocks. It started months ago, but I'll just have to go at my pace.  I have made one NY Beauty for Sylvia's Bridal Sampler and found it fun to make, but it was in the red/black/white I am using for those blocks.  Anxious to try my hand at more colorful ones.  So...along with all the other things in my basket, at least a few of these will get made and hopefully more.

Thursday, May 24, 2012

Garden Steps Quilt Along


For the life of me, I can't figure out how to put a linky button on the side of my blog.  Just figured out how to copy one of them--ok, this is an old, old brain here!!  And I had a head injure 56 years ago--that's my story and I'm sticking to it!  Anyway...this is a cool quilt along and I'm anxious to join it.  Hopefully, eventually the linky will be where it belongs, but for now, this is it!  And have no idea why there are a cazillion links to this post--think must have pushed the wrong button someplace, oh, well.

Friday, May 18, 2012

Blogger's Quilt Festival--BoylyGirlieCircly Quilt


Original Layout
This quilt, named the BoylyGirlyCircly Quilt is the result of three generations of my family.  My beautiful, talented, smart, almost perfect   grandchildren are my boyly boys and girlie girls.  Six of them are my daughter's children and they helped design and stitch.  I've been wanting to make a circle quilt for over a year.  I'd expected to make a regular sized quilt, but this seemed like the only thing I could reasonably get done in time for the festival--and I love it.  It's about 2 feet by 18 inches.  Thanks to Amy at: http://amyscreativeside.com/ for sponsoring.  Her site is full of wonderfulness--tutorials, great things she's working on and challenges.  Well worth visiting.
Final Layout
Gridded print of layout
Spencer, Sabrina, Trey, Sydney arranging circles
Ironed fold lines on background enabled copying design
Circles sewn and starched around templates
Trimming circles


My grandchildren were given various sized cardstock circle templates to trace around, then color in red, blue, yellow, green, purple, or orange.  They cut them out and then took turns putting them down without touching each other on back of a comforter.  Then they took turns tossing their circles just onto the floor...only thing they could do was to turn them over so colors showed.  Chose that design!  There were some slight changes as I sewed pieces on, but it's pretty close and kiddos lit up when they saw the finished top prior to quilting!
Circly with some stitching done

Adam, Trey, Sabrina, DL stitching

Beautiful Sydney under quilt frame
Trey & Sabrina under, Sage, Sydney, Spencer (with momma's help) stitching
Some circles being sewn down on background
Close up of children's stitches
Sabrina concentrating on her stitching--she's legally blind and light-sensitive so wears dark glasses all the time.  My intrepid little girlie girl
Sabrina and Trey stitching
Sydney watching Adam and Trey stitch
Trey and Sabrina pulling thread through to back, Sage, Sydney, DL stitching (Spencer's trying to help underneath!)
Trey, Sagie, Sydney, DL,Spencer , Sabrina 

Wow--am I totally amazed or what?  I was able to capture the button for this wonderfully fun and fantastic quilt festival!

Amy's Creative Side