


 Lately, I've been on an applique tear. Just love doing it. Have done various things with applique involved in them over the 55 years I've been sewing, of course, and mostly done it with my machine, but this has been by hand and the satisfaction has been marvelous. Here are blocks and borders from Baskets In Bloom by Janice Joyner at Sisters' Scraps Quilt Shop in Amarillo Texas. It was a BOM but I bought just the pattern recently. Hubby put the four borders together for picture--interesting pattern it makes, eh?
 There are some embellishments to put on a few blocks, but done other than that. Have tried various methods of shaping pieces for sewing down--all seem to work ok in some situations. Did a snowman quilt last summer/fall using what I call the lining technique where you sew very light Pellon to "face" the piece and then turn it--this worked fantastically on snowmen and again on most of the Home Tweet Home quilt.
  http://www.quilt-lovers-guide.com/applique-techniques.htmlww.quilt-lovers-guide.com/applique-techniques.html This place has good directions for several kinds of applique.
 Two techniques that have worked for me recently involve the iron--hence asbestos fingers. The first was one I saw in Material Obsession, a book my son and his sweet wife gave me for Christmas. You cut out shape from thin cardboard, cut a little larger piece of material, a little larger than that piece of tinfoil. Lay cardboard on material, then wrap tinfoil around it tightly and iron. I found it works well for a few pieces that you're going to use right away. http://sylvsquilting.blogspot.com/2010/11/tin-foil-and-cardboard-applique-method.htmluilting.blogspot.com/2010/11/tin-foil-and-cardboard-applique-method.html A good tutorial about it.
Latest way I like preparing pieces was told to me by a lady at Attic Window quilt shop in Wenatchee WA. I do it differently than she does, but this works best for me. You can use thin cardboard, but best thing is to get heat resistant plastic. It's not cheap, but figure all the leaves can be used again. It was something like $15 for six sheets and I still have two whole sheets left and some scraps. I also, cut several of each shape, so wasn't trotting back and forth to iron all the time. Especially with 134 leaves needed for four border strips! The other thing is that smaller pieces for future projects can be cut out of larger flower or other shapes. She suggested a starch from her shop but didn't have it in right then, so I just tried cheap spray starch. I've seen directions for dipping a q-tip or little brush in starch, wet edges and then bring those up to plastic and sort of glue them down. My ironing pad got saturated with starch, but I just put a bunch of pieces down and sprayed them--it always seemed that there was lots of extra starch so I put other pieces on them to sop it up. Sometimes that meant a bit too much starch and harder to sew--especially batiks which are just harder to sew for me period, but I cover middle fingers with bandaids most of the time although my finger tips are getting more immune to it all!! Two things I really found out about this process is to clip where you need to just a bit as those "v's" turn a lot better and make it easier in sewing process. And I left about 1/4 inch or more around the pieces to have something to hang onto, then trimmed them before sewing. Another thing is to gather, not pleat rounded areas. One at a time so starch dries. I use the tip of my iron to do this and my fingers got very hot a lot, but they're getting immune to this, too!! Lady at quilt shop uses a mini iron like from Clover, but it just didn't seem to work well for me. Might try it again on next project.
About half the blocks were done tinfoil way, others starching. I'm wondering if using a combo of starch and tinfoil would work well, but needing a cazillion pieces that stayed nice for sewing them. Starching kept them in nice shape during process better than anything else..
 These three very bad pictures from
 my phone show how I hold gathered ends in place and what it looks like after starch dries. When piece is dry, remove the plastic and press one more time. I stack them together and put a pin through to keep them in place. Having so much fun appliquing but need to get organized enough to put blocks for two different quilts together, get them and some other tops sandwiched and then quilted--so much to do, but always fun.

 These three very bad pictures from
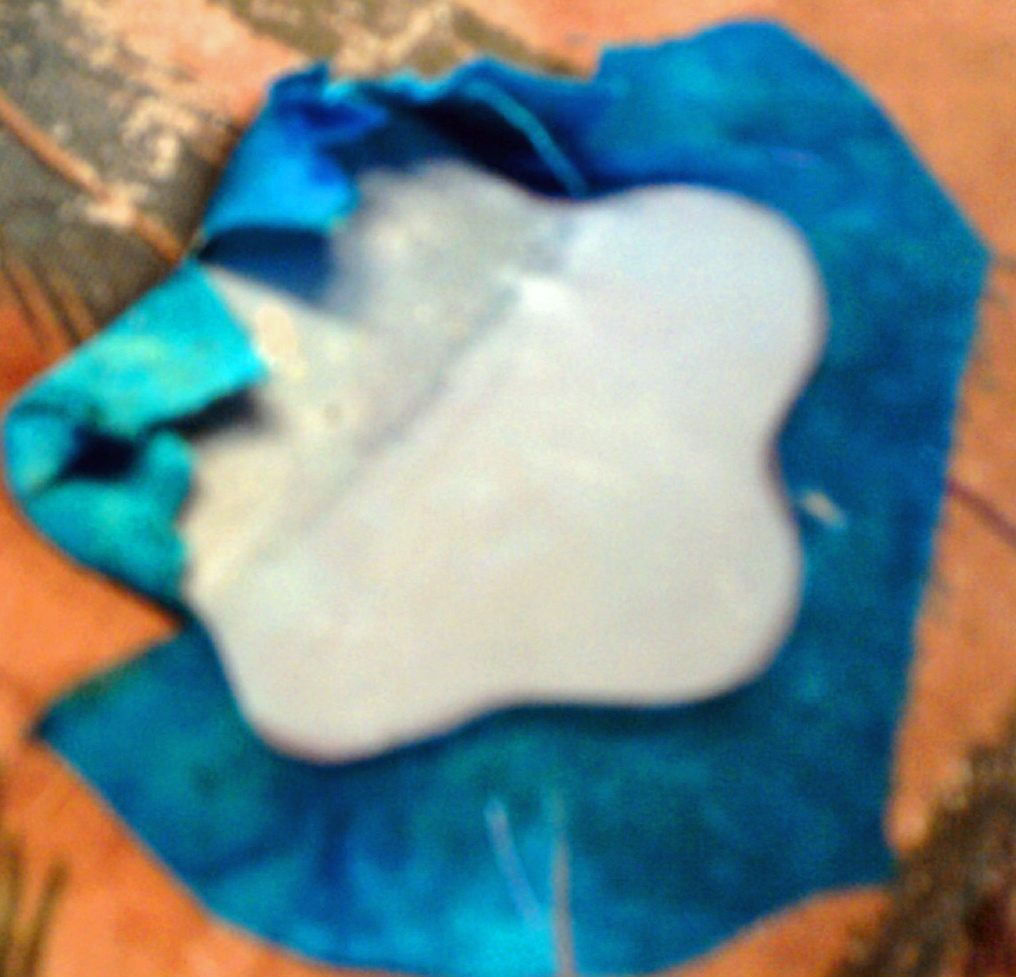 my phone show how I hold gathered ends in place and what it looks like after starch dries. When piece is dry, remove the plastic and press one more time. I stack them together and put a pin through to keep them in place. Having so much fun appliquing but need to get organized enough to put blocks for two different quilts together, get them and some other tops sandwiched and then quilted--so much to do, but always fun.


6 comments:
Those are absolutely beautiful!
Wow Eileen!!! GORGEOUS!! I can get a ton of inspiration from your quilts for my scrapbook pages and cards. I noticed your "House" quilt down below... Houses and Owls are the "It" thing for the paper crafting world. At least my paper crafting world. :-) Thanks so much for commenting on my cards. Means so much!!
Michele
Isn't applique wonderful? I think it is so relaxing...I have dug out one of my UFO's, Linda Brannock's "Flowers"...Maybe I will get it done this year!!!
Eileen, beautiful flower baskets.. I wish I had more time for applique... Have a good weekend.
gracias por ver nuestro blog.Tu haces trabajos muy bonitos me gustan mucho los flamencos.Un beso desde este lado del mundo.Caty
Love your applique; I really need to get mine down. I've only ever finished one applique project...Oh and some eagles that are in my patriotic quilt. I really NEED to get more done.
Post a Comment